Wednesday, January 4, 2017

Arm-Bot

Before I begin, let me just apologize for the lack of creativity in the name.  This is Arm-Bot, my 3d-printed arduino-powered robotic arm.

I bought a 3-d printer in January and this is the first thing I've made with it.  It is relatively simple, which is why I chose it as my first project.  When I was designing it, my main goal was to make it as simple as possible.  The gripper is unlike most robotic arms I've seen.


Other than that, it is pretty much like any other 3-d printed robotic arm.  I also printed a controller for it.

I only had one joystick, so I had to get creative.  The horizontal axis always move the bottom servo.  If the right button is pressed, the vertical axis moves the motor second from the bottom, and when the left button is pressed, the vertical axis moves the servo above that one.  When the top button is pressed, the hand grips, and when the button is released, the hand releases.  The controls aren't as bad as they may sound.  It would be much better with two joysticks, though.

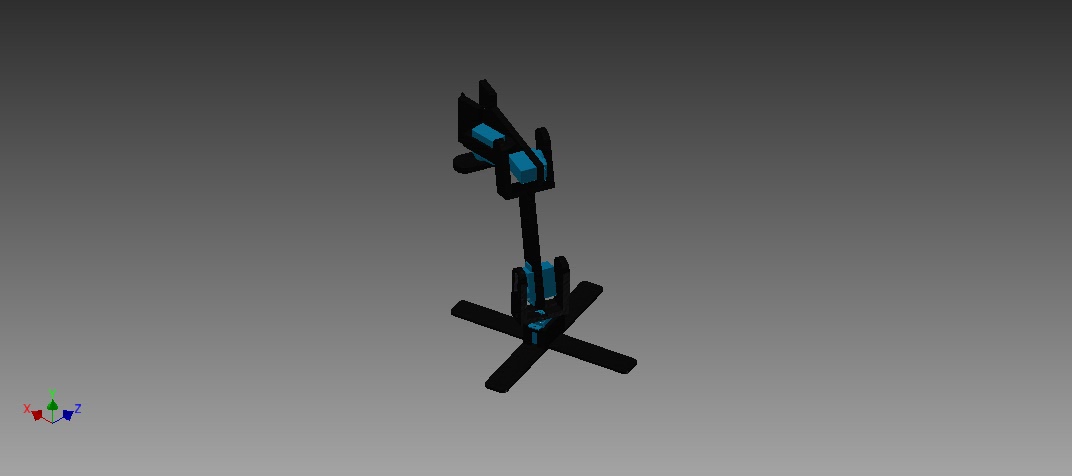
To be honest, I dropped the ball on the documentation for this one.  I had it all working at one point, and then I decided to repurpose the arduino and eventually the project degraded into a chunk of plastic and electronics in a shoe box.  I don't have any pictures of it done, or a video of it working.  Instead, here's a picture of it half done, and a 3d rendering of it I made in Inventor. 


Check it out on Thingiverse here.

Tuesday, June 10, 2014

Gizmo 2.0

As I sit down to write this, I realize it's been so long that I haven't even blogged about Gizmo 1.0!  To sum that up, I pretty much made what I blogged about earlier, but I did a poor job with it and it fell apart.  That was last summer.  This past semester I got a 3d printer and made this guy:


It was roughly based off of this post on thingiverse, except I went for a more self-enclosed look.  It took a while to 3d print the base, manly because I would keep tripping over the printer cable, or the plastic would get caught half way through.  As for what's inside, I'm powering it with as raspberry pi and a servo controller from adafruit.  It use to work really well, but something is wrong with it and I just can't figure it out. I'll make another post when I have him walking again.

On Thingiverse: http://www.thingiverse.com/thing:359709

Update: I got him to move, but he may have some problems keeping his balance while he walks.

Monday, February 10, 2014

24 game solving app

I haven't updated this blog in a while, so here's one of the things I've been up to.  If you are not familiar with the 24 game, or challenge 24, it is a game where given 4 numbers, you have to make 24 by adding, subtracting, multiplying, and dividing the 4 given numbers.  For example, for the number 5,6,7,4, the solution is (7-5+6) *4=24.  I love this game, and it is one of very few things I am great at.  Sometimes there is a set of numbers I can't solve and it is very frustrating, so I made a java program to find a solution.  Then I turned it into and app and uploaded it to the Google Play Store.  It is available here.  Also, the source code is on github.

Wednesday, June 19, 2013

Hexapods

I purchased a Raspberry Pi this week!  It's an incredible piece of technology.  I purchases this servo controller for it too because servo motors are useful.  While pondering what I could do with 16 servo motors, I came across this video.  It seems like it wouldn't be easy to build but definitely possible.  I think I will start off with a simple 12 servo hexapod and add on to it later.  Here is a rough design I made in inventor:
Simple hexapod design

Simple hexapod design, view from top


It's pretty simple.  I can't think of a reason why it will not work.  If you can, let me know in the comments!  Here's the Inventor files.  As for attaching the servos in the leg assembly, I will probably use some kind of bracket.  I'm working on a quick prototype leg, and I just used hot glue to attach them and it turned out pretty well.  I'll upload a video when I am finished.  I'm probably going to use micro servos because of the price.  Let me know what you think and give me any advice in the comments.


UPDATE: I have decided to just use the design from the video above.  I found a 3D model here

Tuesday, June 11, 2013

A potentially finished version of my game

After a lot of work, I think I am finally finished.  The biggest issues that got fixed were:
    The start screen for Cloud Jumper
  • the user interface (as shown on the right)
  • the game crashing
  • the lack of a pause function
  • high sensitivity
I had to decrease the size of the images so that it would stop crashing.  I think I have found just the right size, but if it still crashes or the image quality is too low, let me know in the comments.  I may add some kind of noise, but I don't think I'll put too much more effort into this because I am ready to move onto my next project, whatever that may be.  Here is the APK and Source Code.  Please check it out and tell me what you think.  Thanks.

Friday, May 31, 2013

Update for my game

I've been working on my game, fixing bugs and stuff.  As requested, here is the updated Source Code and APK.  By the way, if any one know how to put this on GitHub or something you should help me out.  Just tried and couldn't make it work.  Here's what's new:
  • Changed back from turtle to circle that changes color (per Tucker's request)
  • Made speeds scale to screen size
  • Fixed sprites
  • Fixed the false game-overs
  • Modified the controls
And here is what's to come:
  • High scores using Google's new Google Play Game Services (I've been watching the Google I/O as I've worked and they announced this feature)
  • Do something with the back button
  • ????
  • Profit
Tell me what you think and what still needs fixed in the comments.  Thanks!